


What is flexible LED profile light?
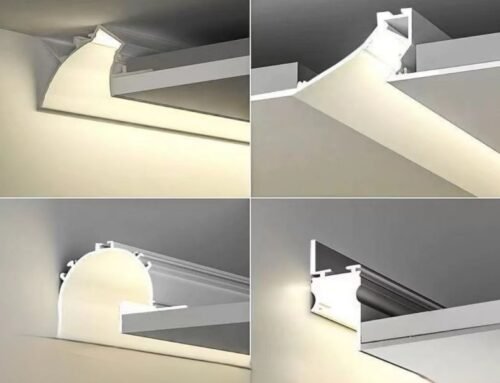
Flexible LED profile lights are lighting solutions that use flexible LED strips housed in a protective, flexible casing or “profile.” These profiles are often made of materials like aluminum or silicone are designed to be bendable, allowing them to conform to various shapes and surfaces.
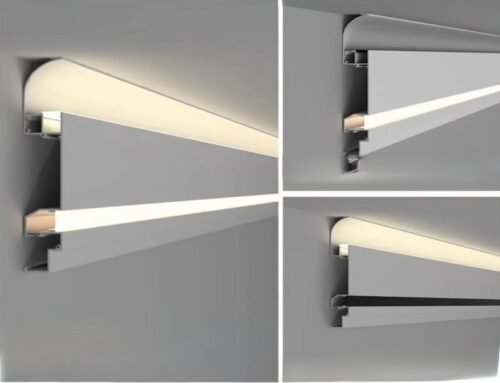
The flexible casing serves multiple purposes: it protects the LED strip from damage, diffuses the light for a more uniform glow, and provides a degree of flexibility for installation around corners, curves, or uneven surfaces. Flexible LED profile lights are commonly used for accent lighting, cove lighting, and architectural lighting applications, offering versatility and ease of use in a variety of settings.
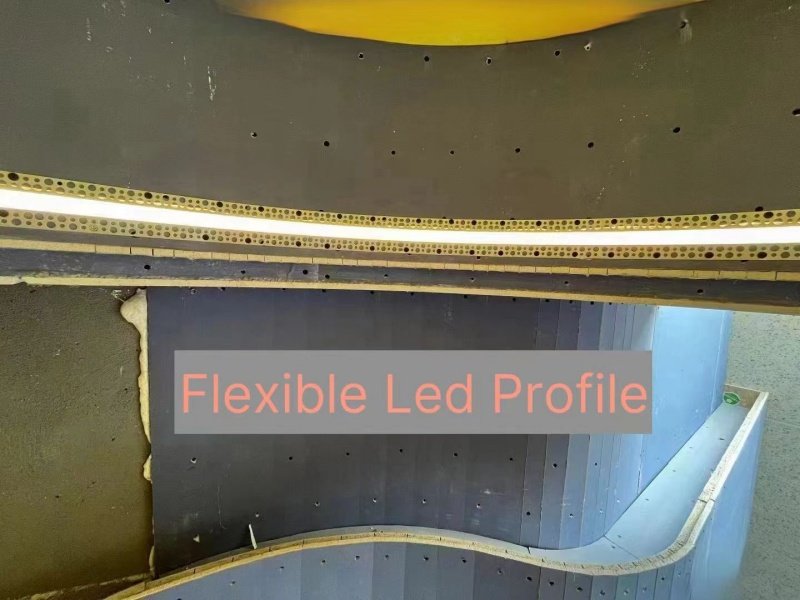
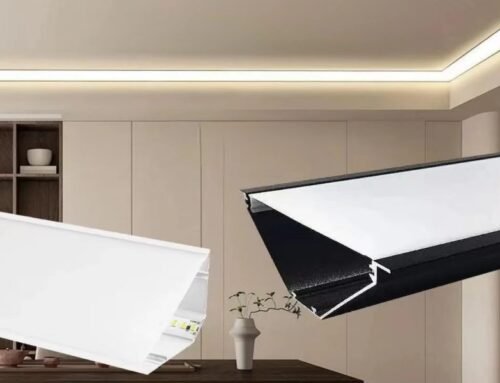
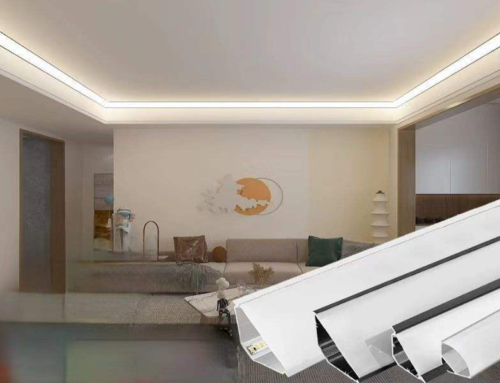
As below this lighting effects, the LED channel diffuser is aluminum alloy material, it can be used for ceiling or wall lighting , it is bendable lighting profile for curved architectural lighting.
Does flexibel LED profile can be cut?
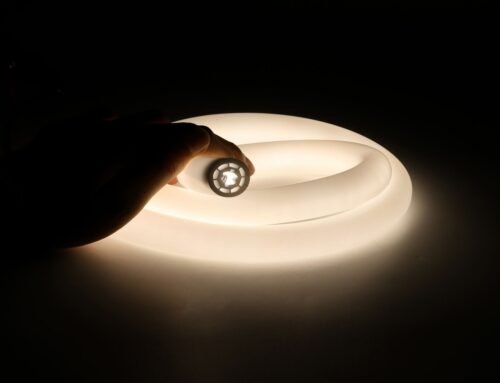
Yes, flexible LED profile lights can typically be cut to custom lengths. Most flexible LED strips have designated cut points, usually marked with a line or symbol, where you can safely cut the strip without damaging the LEDs. After cutting, you may need to attach a new connector or cap to the end of the strip to maintain proper electrical connection. It’s important to follow the manufacturer’s instructions and use the correct tools to ensure a clean cut and proper reconnection of the LED strip.
How do you connect flexible LED profile?
To connect flexible LED profiles, you will need to use connectors specifically designed for LED strips. Here are the general steps:
Cutting the LED Strip: First, cut the LED strip to the desired length using sharp scissors along the designated cut lines, if applicable.
Preparing the Strip Ends: Remove any silicone coating or waterproofing material from the end of the LED strip to expose the copper pads.
Connecting Wires: Use solderless connectors or soldering to attach wires to the copper pads on the LED strip. Ensure the polarity is correct (positive to positive, negative to negative).
Inserting into the Connector: Insert the prepared end of the LED strip into the appropriate connector, ensuring it is fully seated and secure.
Securing the Connection: If using solderless connectors, use the provided clips or covers to secure the connection. If soldering, ensure the solder joints are strong and insulated.
Testing the Connection: Once the connection is secure, test the LED strip to ensure it lights up properly.
Mounting the LED Strip: Finally, mount the LED strip in the desired location using adhesive backing or mounting brackets.


Leave A Comment
You must be logged in to post a comment.