


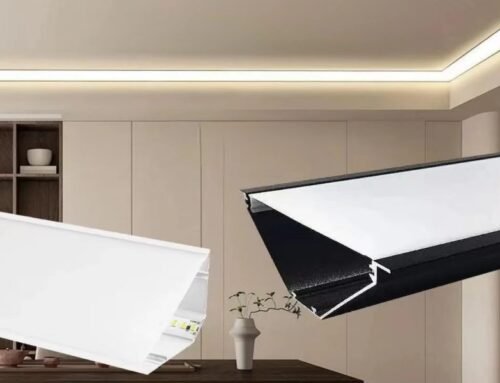
Installing a flexible aluminum channel for ceiling lighting involves several steps. Here’s a guide to help you through the process:
Materials and Tools Needed:
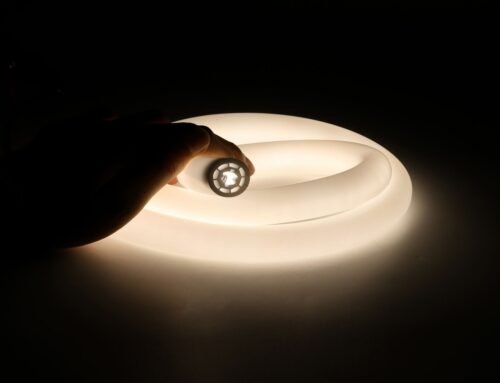
Flexible aluminum channel
LED strip lights
Power supply and wiring
Mounting clips or brackets
Screws and anchors
Measuring tape
Pencil
Drill and bits
Wire connectors or soldering tools
Step-by-Step Installation Guide:
1.1 Planning and Measurement:
Measure the area on the ceiling where you want to install the LED aluminum channel .
Mark the positions where the LED channel system will be mounted using a pencil.
1.2 Cutting the LED strip channel:
If needed, cut the aluminum track to the desired length using a saw suitable for metal.
Ensure the edges are smooth to avoid any injury or damage to the LED strip.
1.3 Preparing the LED Strips:
Measure and cut the LED strip to fit the length of the aluminum LED channel diffuser.
Connect the LED strip to the power supply using the appropriate connectors or by soldering the wires. Ensure the connections are secure and insulated.
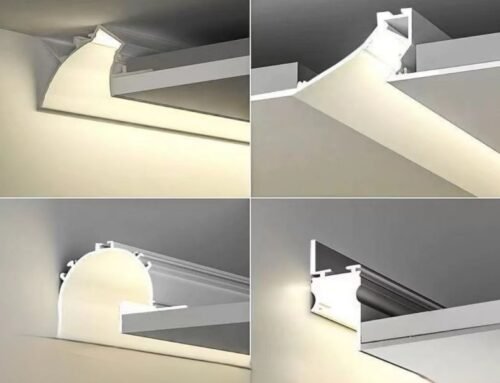
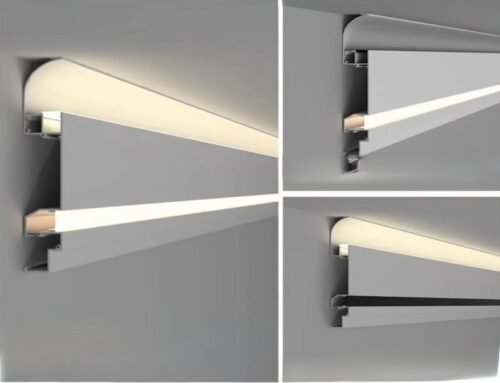
1.4 Mounting the flexible aluminum LED profile:
Use the provided mounting clips or brackets to secure the channel to the ceiling.
Place the clips or brackets at regular intervals along the length of the channel for stable support.
Drill pilot holes at the marked positions and insert wall anchors if necessary.
Attach the mounting clips or brackets to the ceiling using screws.
1.5 Installing the LED Strip:
Peel off the adhesive backing from the LED strip and carefully place it inside the aluminum channel.
Press firmly along the length of the strip to ensure it adheres properly.
1.6 Securing the Channel Cover:
If your aluminum channel comes with a diffuser or cover, snap or slide it into place over the LED strip.
The diffuser will help to diffuse the light evenly and protect the LED strip.
1.7 Connecting the Power Supply:
Connect the LED strip to the power supply. Ensure all wiring is secure and follows electrical safety standards.
If needed, conceal the wiring using cable management solutions to maintain a clean appearance.
1.8 Testing the Installation:
Turn on the power supply and test the LED strip to ensure it lights up properly.
Check for any loose connections or areas where the strip may not be adhering well.
1.9 Final Adjustments:
Make any necessary adjustments to the positioning of the channel or the LED strip.
Ensure the installation is secure and that the lighting effect is as desired.

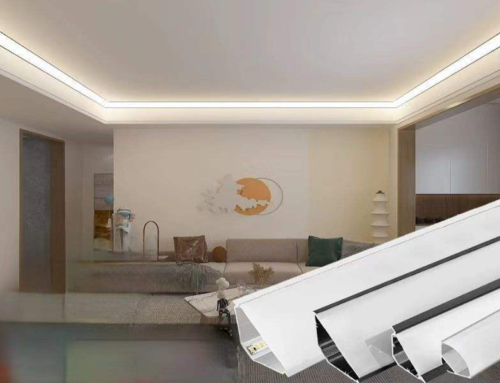
By following these steps, you can successfully install a flexible bendable aluminum channel with silicone cover for ceiling lighting, creating a sleek and modern lighting solution for your space.
If you would like a video showing the installation, please click here to contact us and we will send you a video.


Leave A Comment
You must be logged in to post a comment.